Getting started with custom data
Custom data is a powerful feature that allows you to fetch information from an API endpoint and display it in your conversation sidebar. This means you can bring in relevant data from your systems to enhance customer interactions.

Getting started
Ready to supercharge your conversations with custom data? Let's dive in!
Navigate to the
Custom Datasection in your settingsEnter your API endpoint URL (e.g., https://api.example.com/v1/admin/account)
In the "Custom data" section, you'll see a field to enter your API endpoint. This is where the magic happens! Make sure to use a secure (https) URL that returns the data you want to display. Learn more about how to structure your endpoint.Add any necessary headers
Need to add some extra security? No problem! Click on "Add headers" to include any necessary authorization tokens or custom headers. This ensures that your API knows it's you making the request.Authorization: Bearer 1234567890abcdefTest your connection with a valid customer email
Time to take your custom data for a spin! Enter a valid customer email in the "Testing contact email" field. Important: This email needs to match a customer in the endpoint you're working with. Otherwise, you might not see any data.Preview the rendered data or check the
JSONresponse
Once you've entered a valid email, hit the "Fetch" button. You'll see two tabs:
Preview: This shows you how the data will look in your conversation sidebar. It's a great way to make sure everything's displaying correctly.
JSON Response: For the tech-savvy folks, this tab shows you the raw data returned by your API. Useful for troubleshooting or if you want to get into the nitty-gritty details.
Customizing your display
Want to make your custom data look just right? You can use HTML to structure the display along with liquid template tags to display your data. Here's a quick example of what you can do:
<h2>Customer Details</h2><ul>
    <li class="row"><strong>Name</strong><span>{{customer.name}}</span></li>
    <li class="row"><strong>Email</strong><span>{{customer.email}}</span></li>
    <li class="row"><strong>Plan</strong><span>{{customer.plan}}</span></li></div>
This will create a nicely formatted display of customer information in your sidebar. Feel free to get creative and make it your own!
 Text
Text Key/Value pair
 List
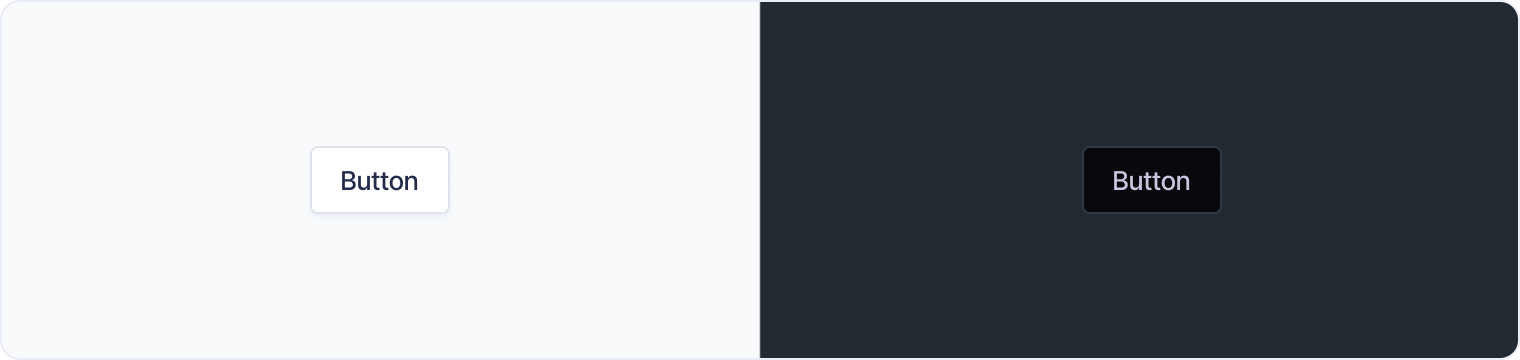
List Button
 Spacer
 Badge
Badge Pill
Pill Card
Card Tabs
Tabs Collapsible
 Divider
 Table
Table Form
FormEditing data
In addition to displaying custom data, Fernand also provides the capability to edit data seamlessly. This allows you to change values for various input types, including text input fields, select fields, radio buttons, checkboxes, and more. In a form, use the action and method parameters to specify the way you want to send back. Within a button, use the data-url and data-method parameters.
Security and headers
To ensure secure communication between Fernand and your server, it is crucial to include appropriate headers with each request.
This way, your server can verify the authenticity of the request and maintain a secure environment for editing data.
Dark mode support
We've carefully crafted every element of our components library to big dark-mode friendly as well. As long as you stick to defined components, they will be working both in light and dark mode.
If you want to target dark-mode only, inject custom CSS and prefix your component with the body.dark-mode class.
Troubleshooting
Running into issues? Don't sweat it! Here are a few common problems and how to solve them:
No data showing up?
Double-check that your test email matches a customer in your system.Getting an error?
Make sure your API endpoint is correct and your headers are properly set.Data looks weird?
Review your HTML structure and make sure you're referencing the correct fields from your API response.
Still stuck? Don't hesitate to reach out to our support team. We're always here to help you make the most of your custom data!