Cloudflare email routing
Setting up your email channel in Fernand using Cloudflare Email Routing is a quick and powerful way to centralize your customer communications without jumping between tools. Once connected, all emails to your support address will land directly in Fernand, and you’ll be able to reply from your own domain, with proper authentication and deliverability.
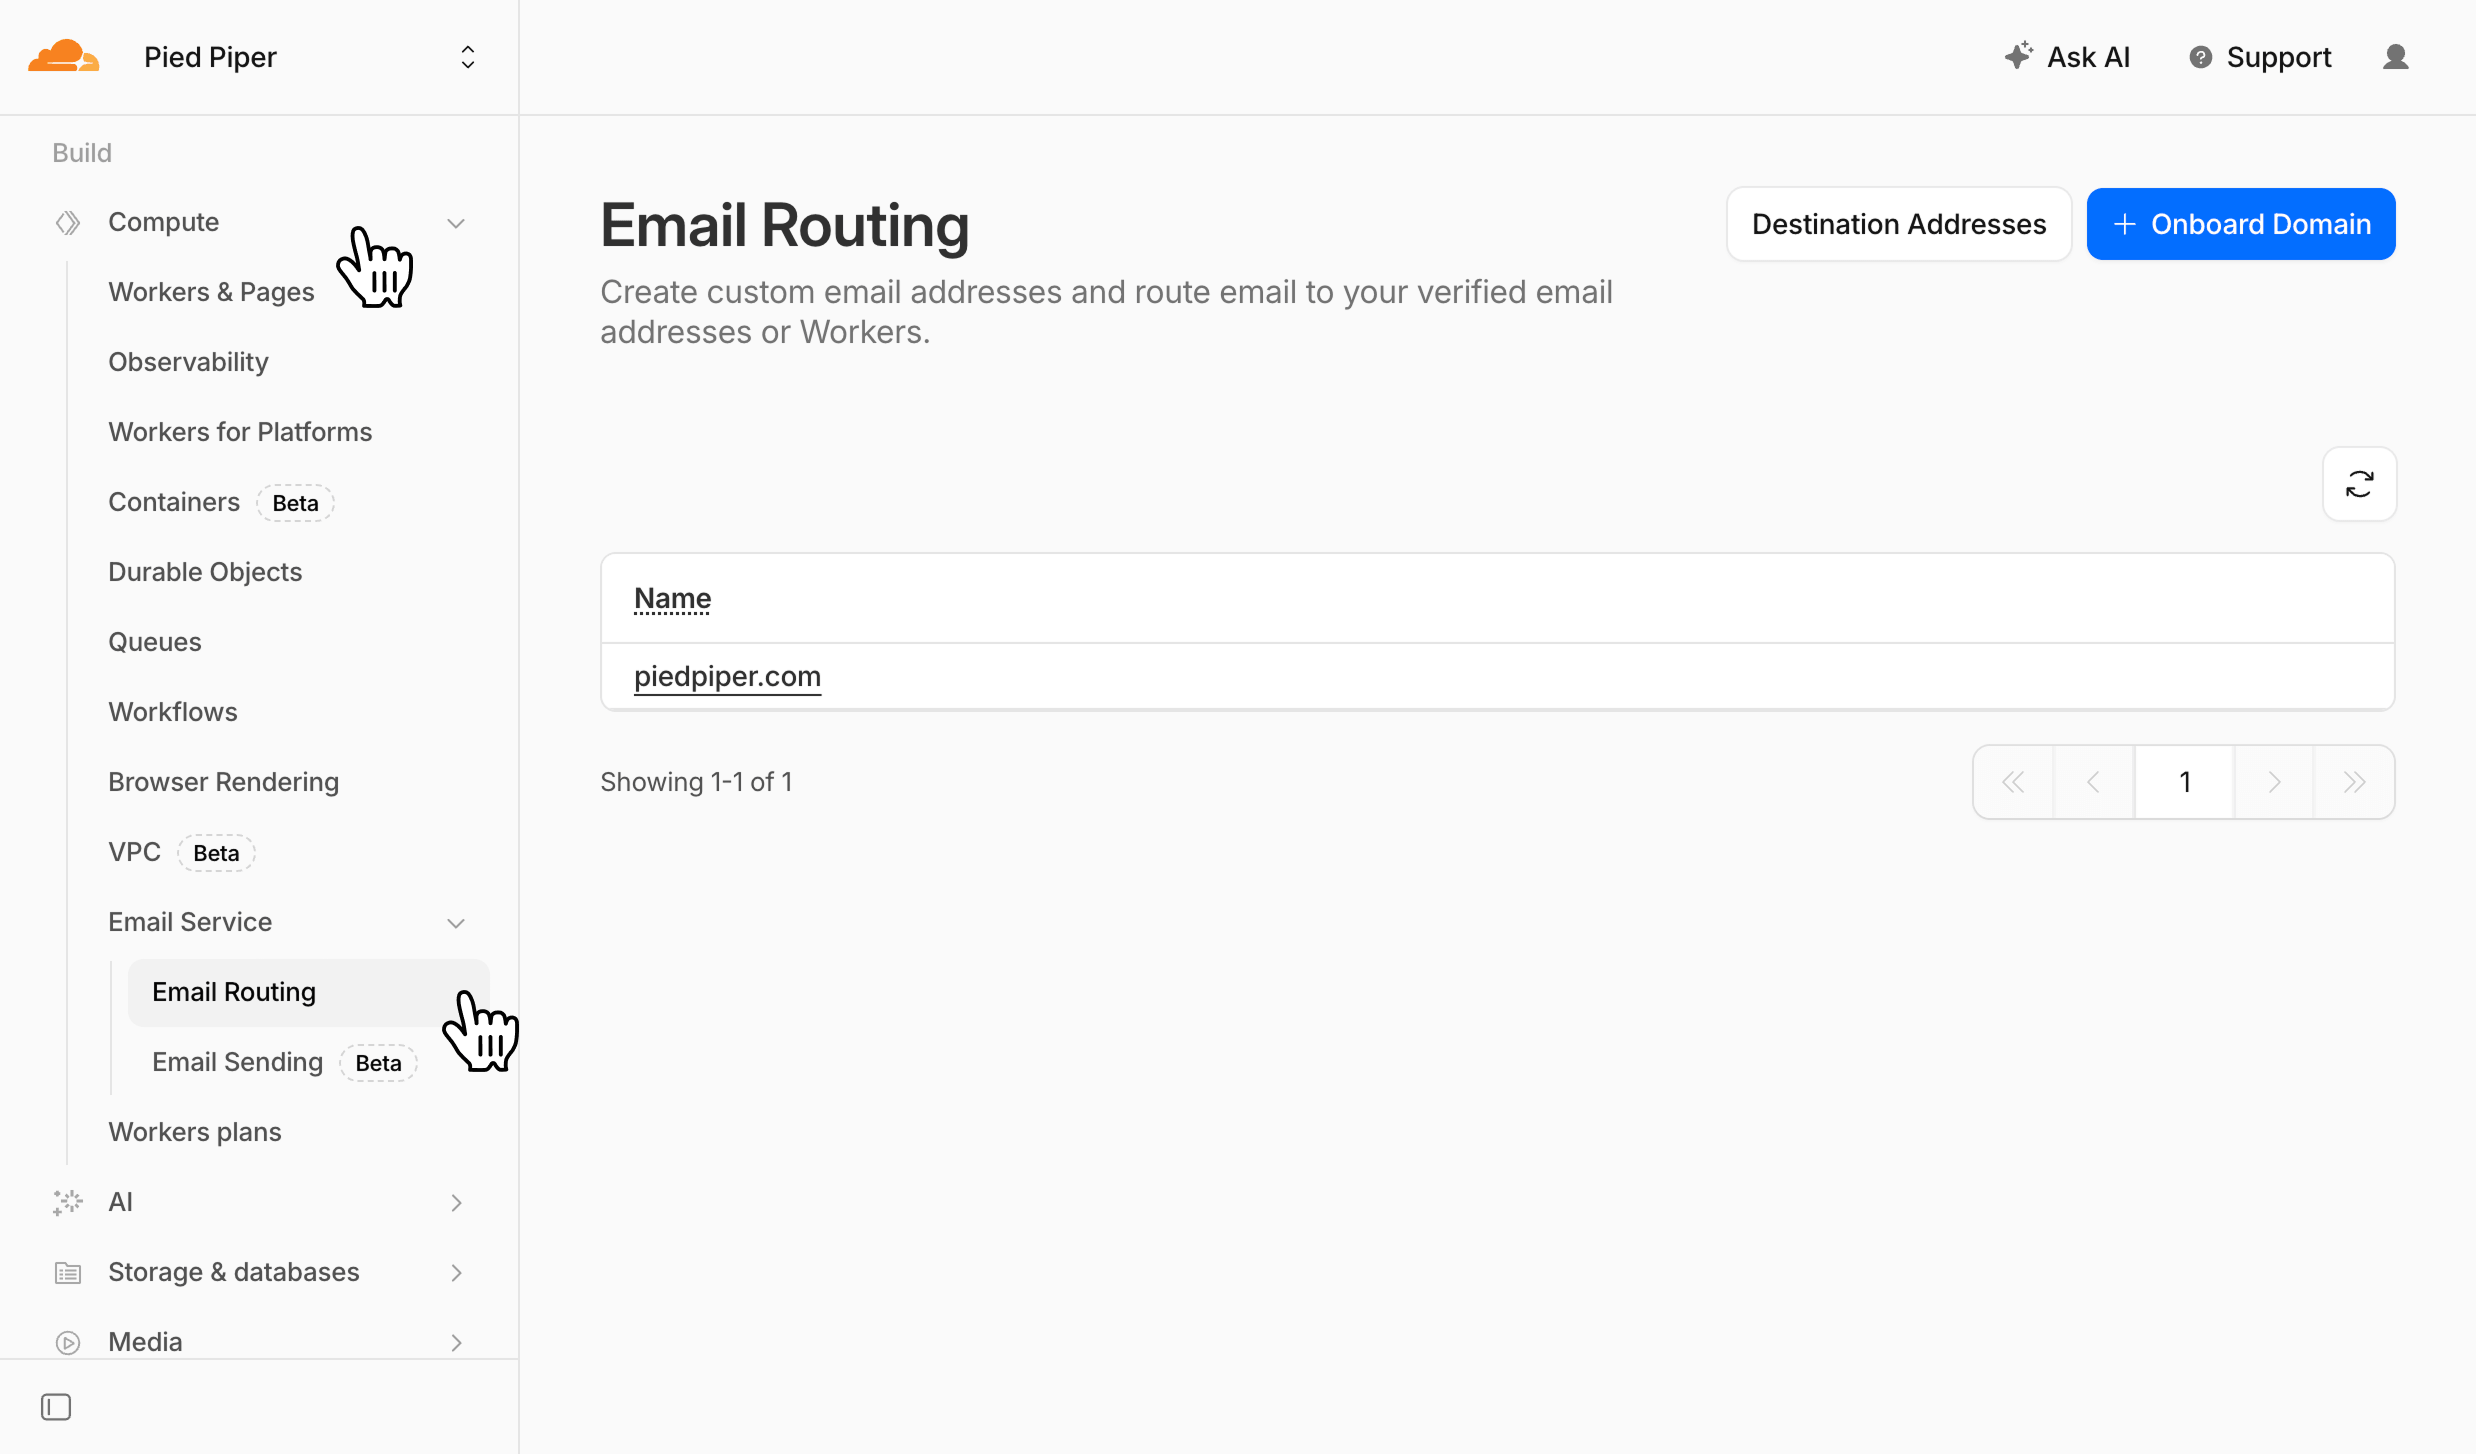
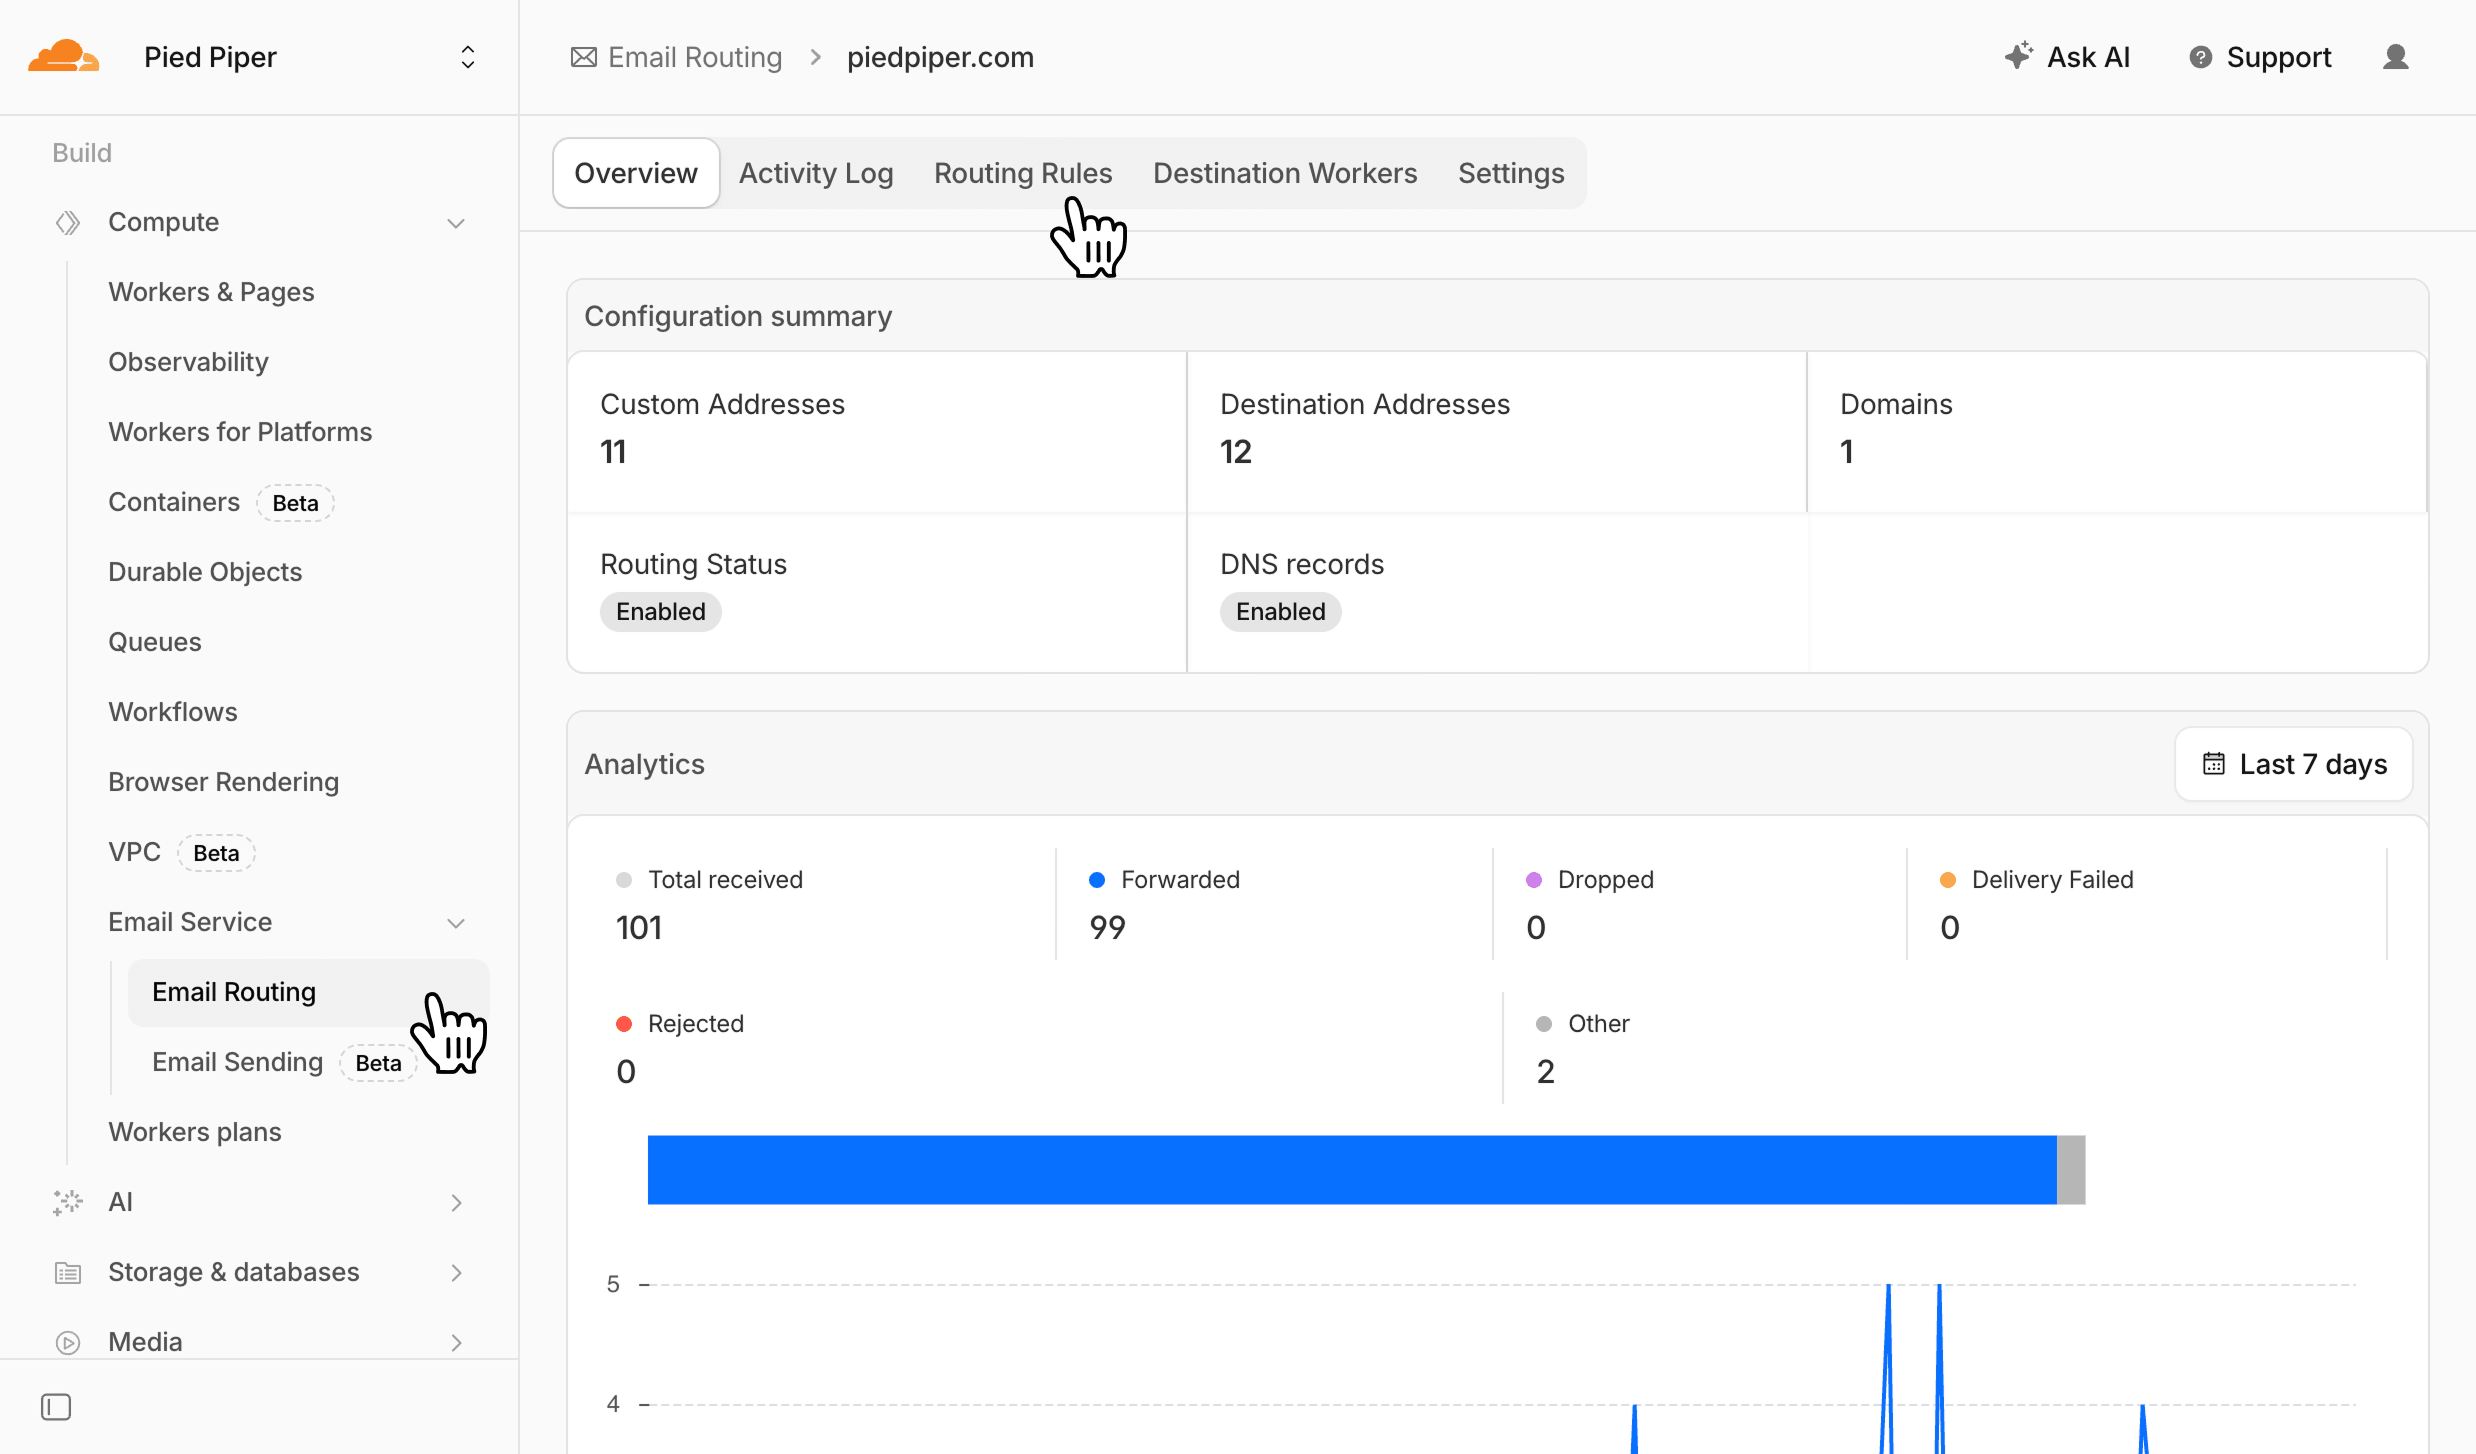
Open your Cloudflare dashboard and click on Compute, then Email Service, and Email Routing
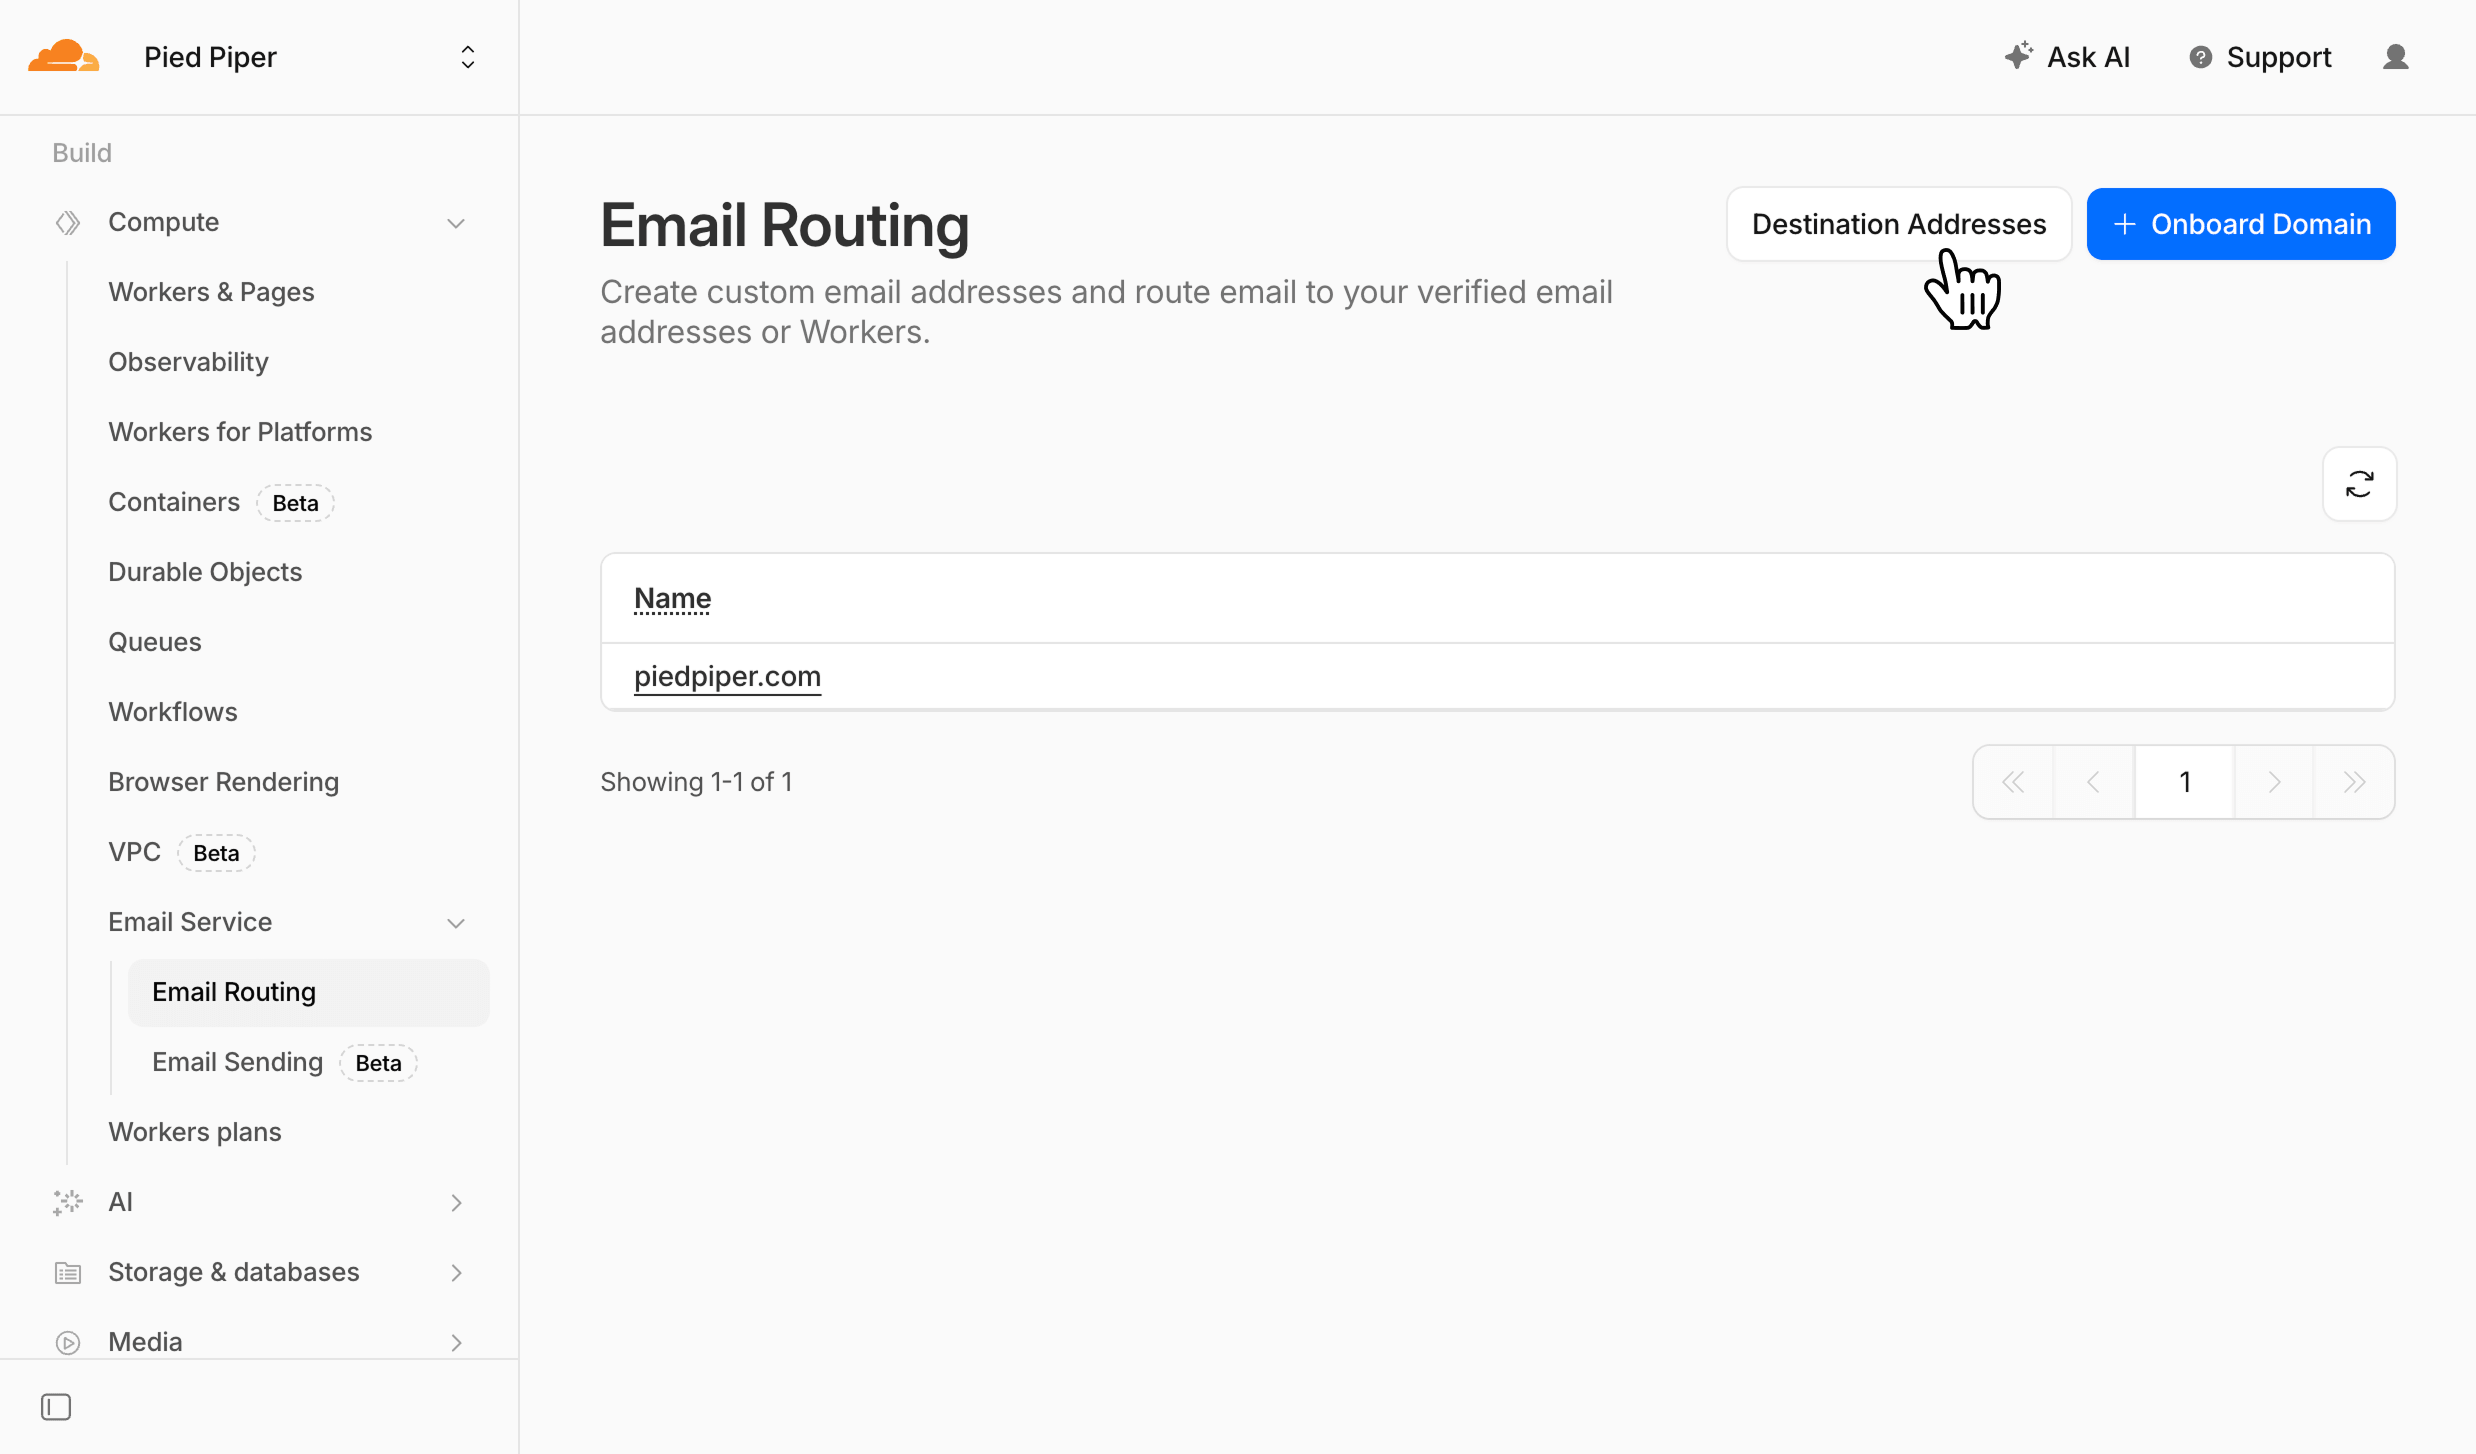
Click on Destination Addresses
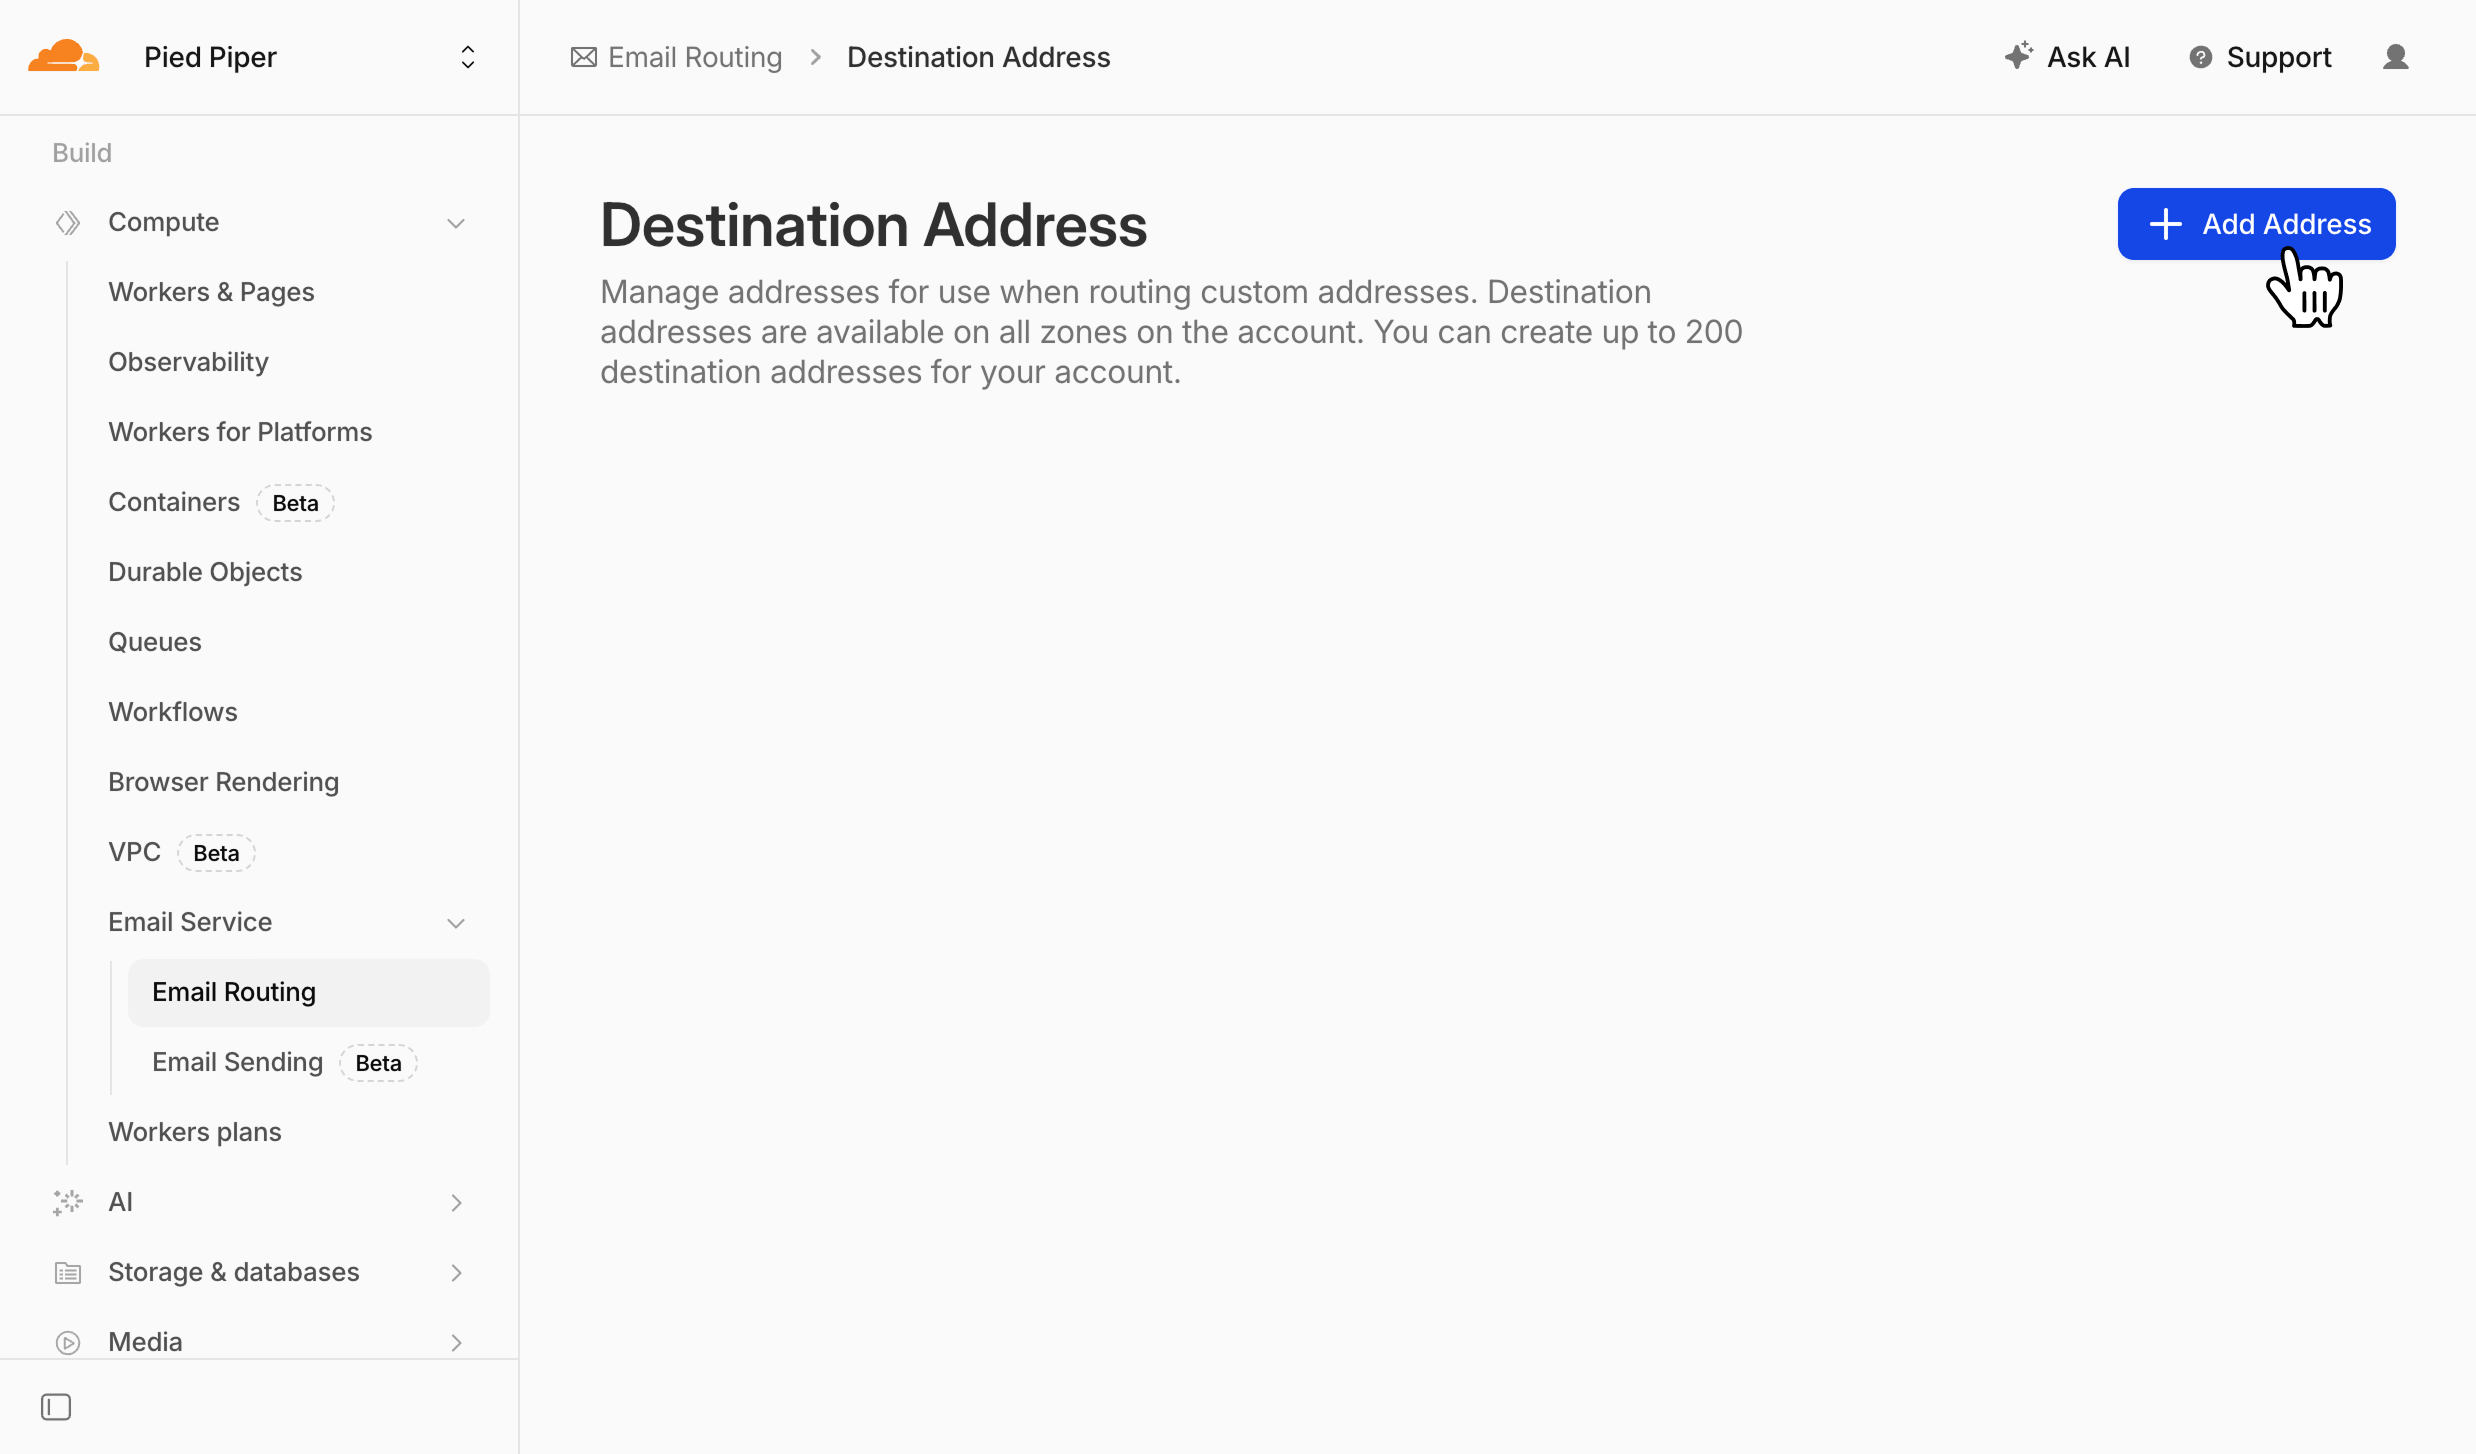
Then, click on Add Address
In the modal dialog, add your Fernand inbox email in the Email Address field
It should look likesupport@piedpiper.fernand-mails.com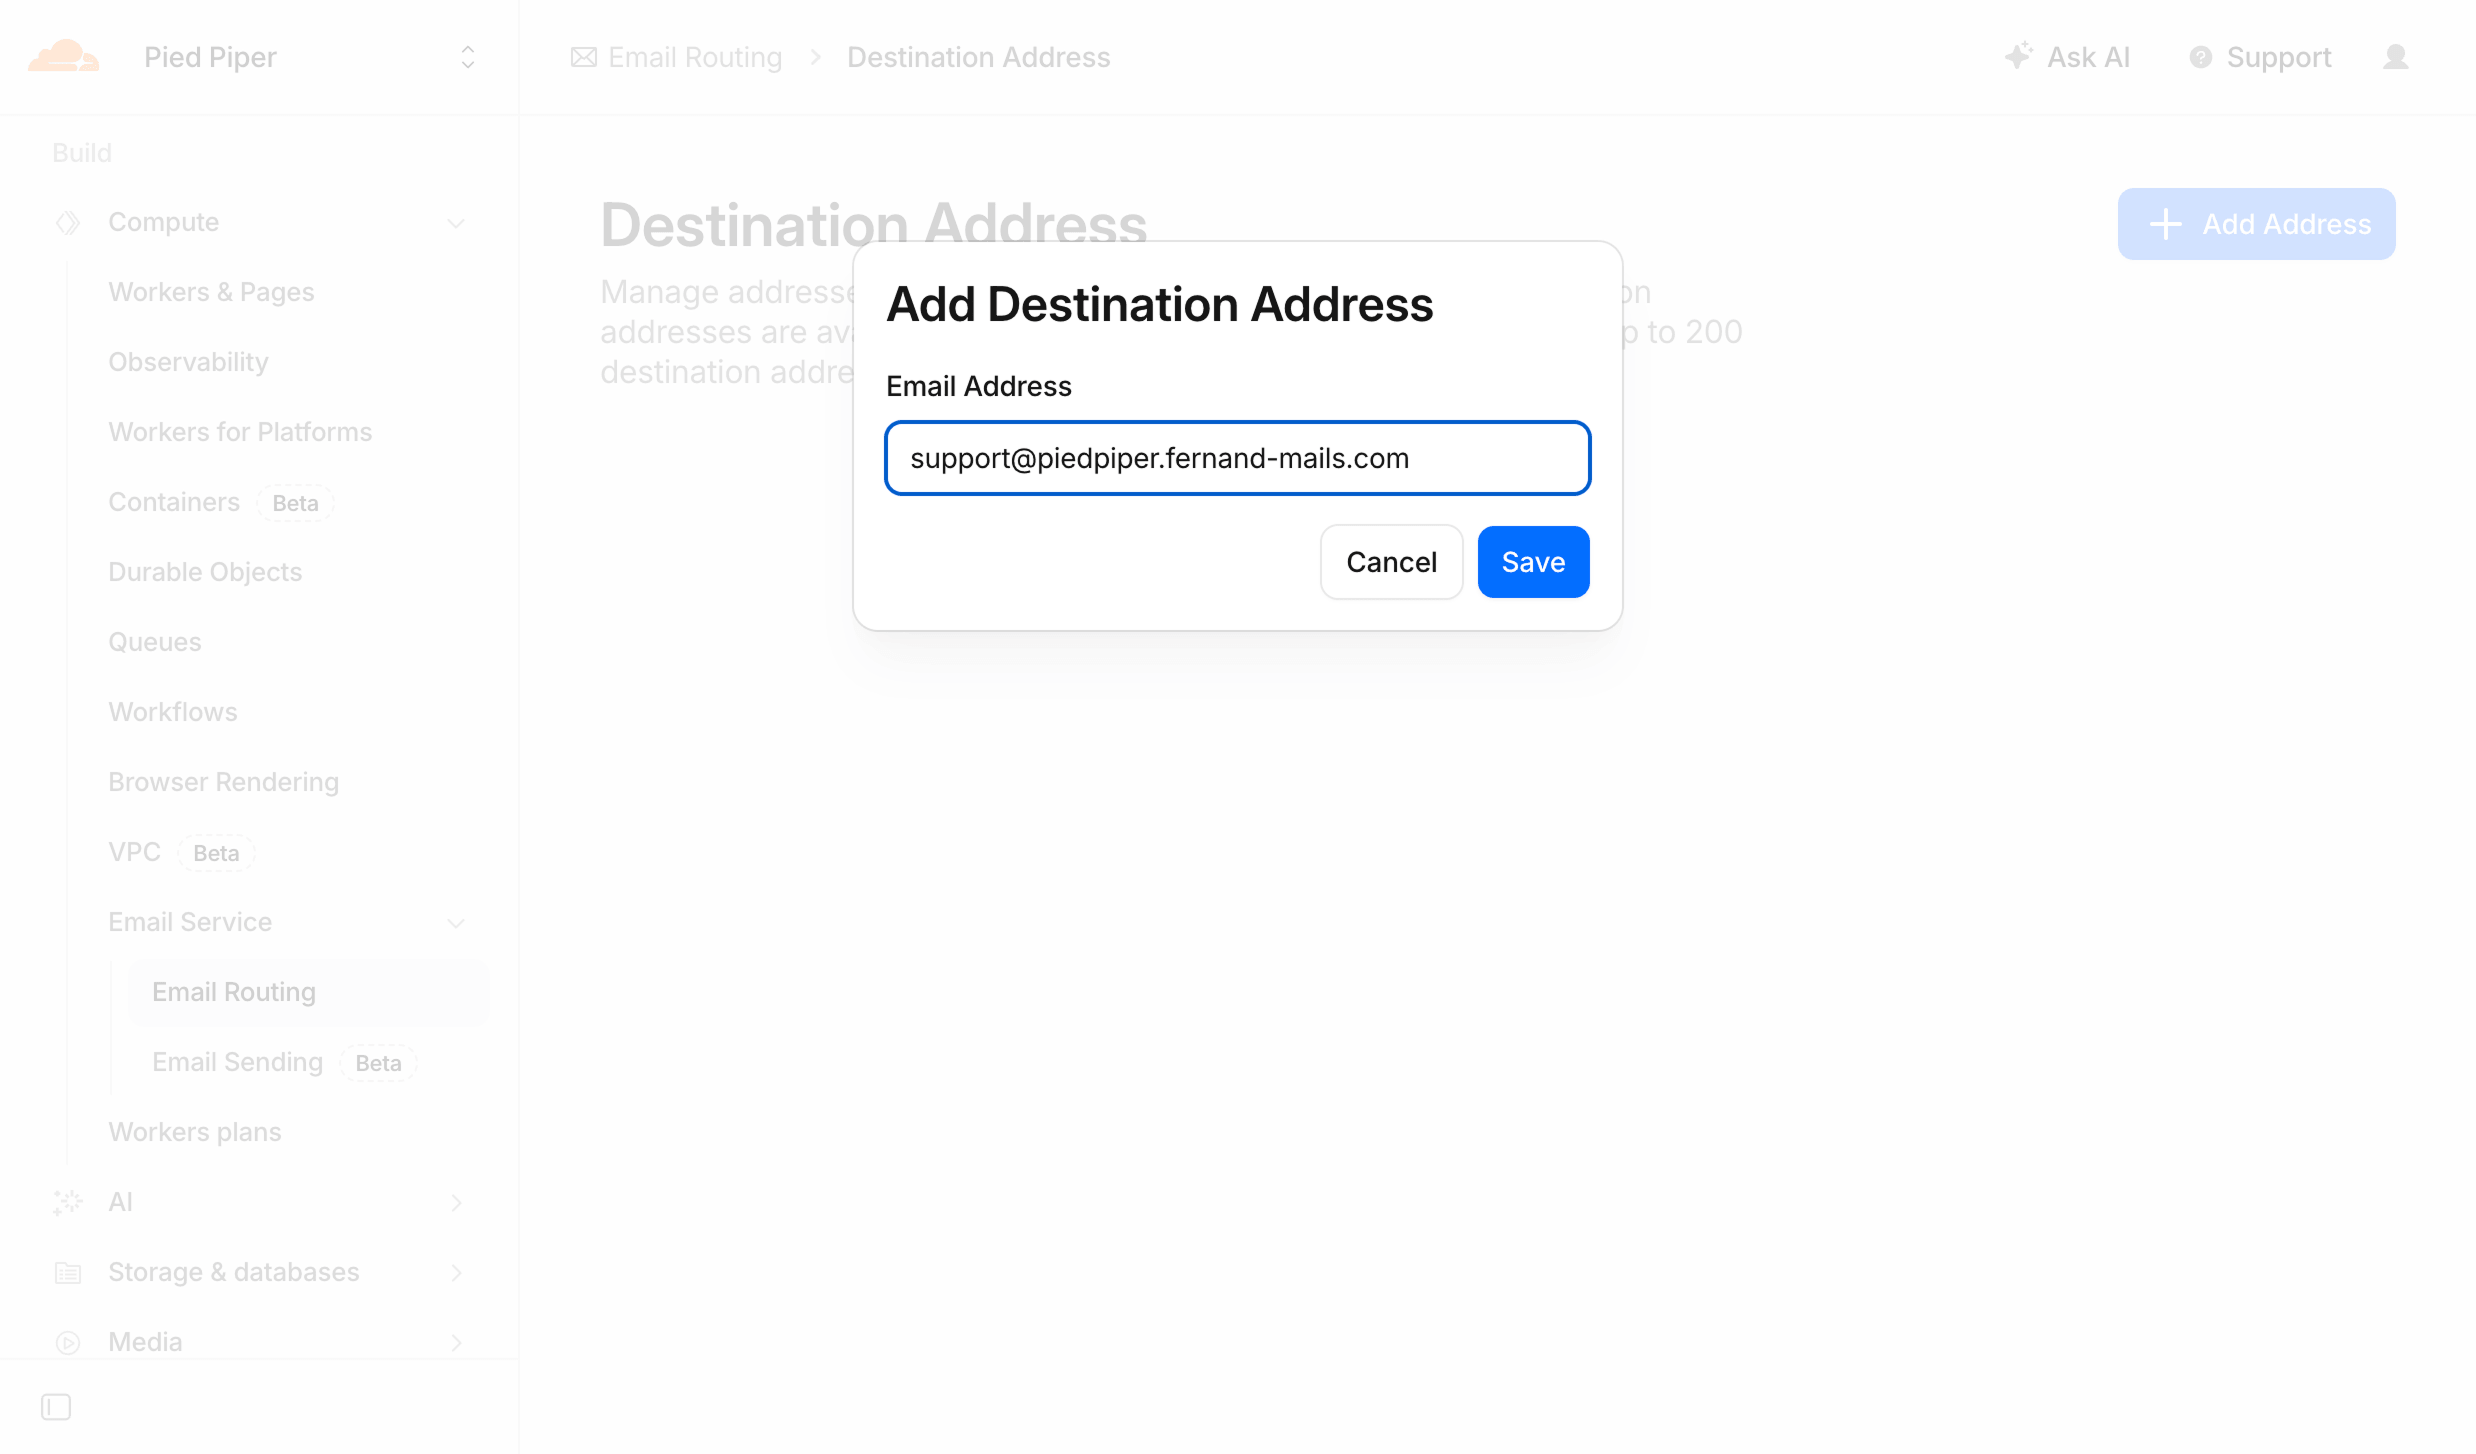
You will need to validate ownership of that email address. Once you hit Save, an email will be sent to your Fernand inbox. Click on the link in the email to prove ownership.
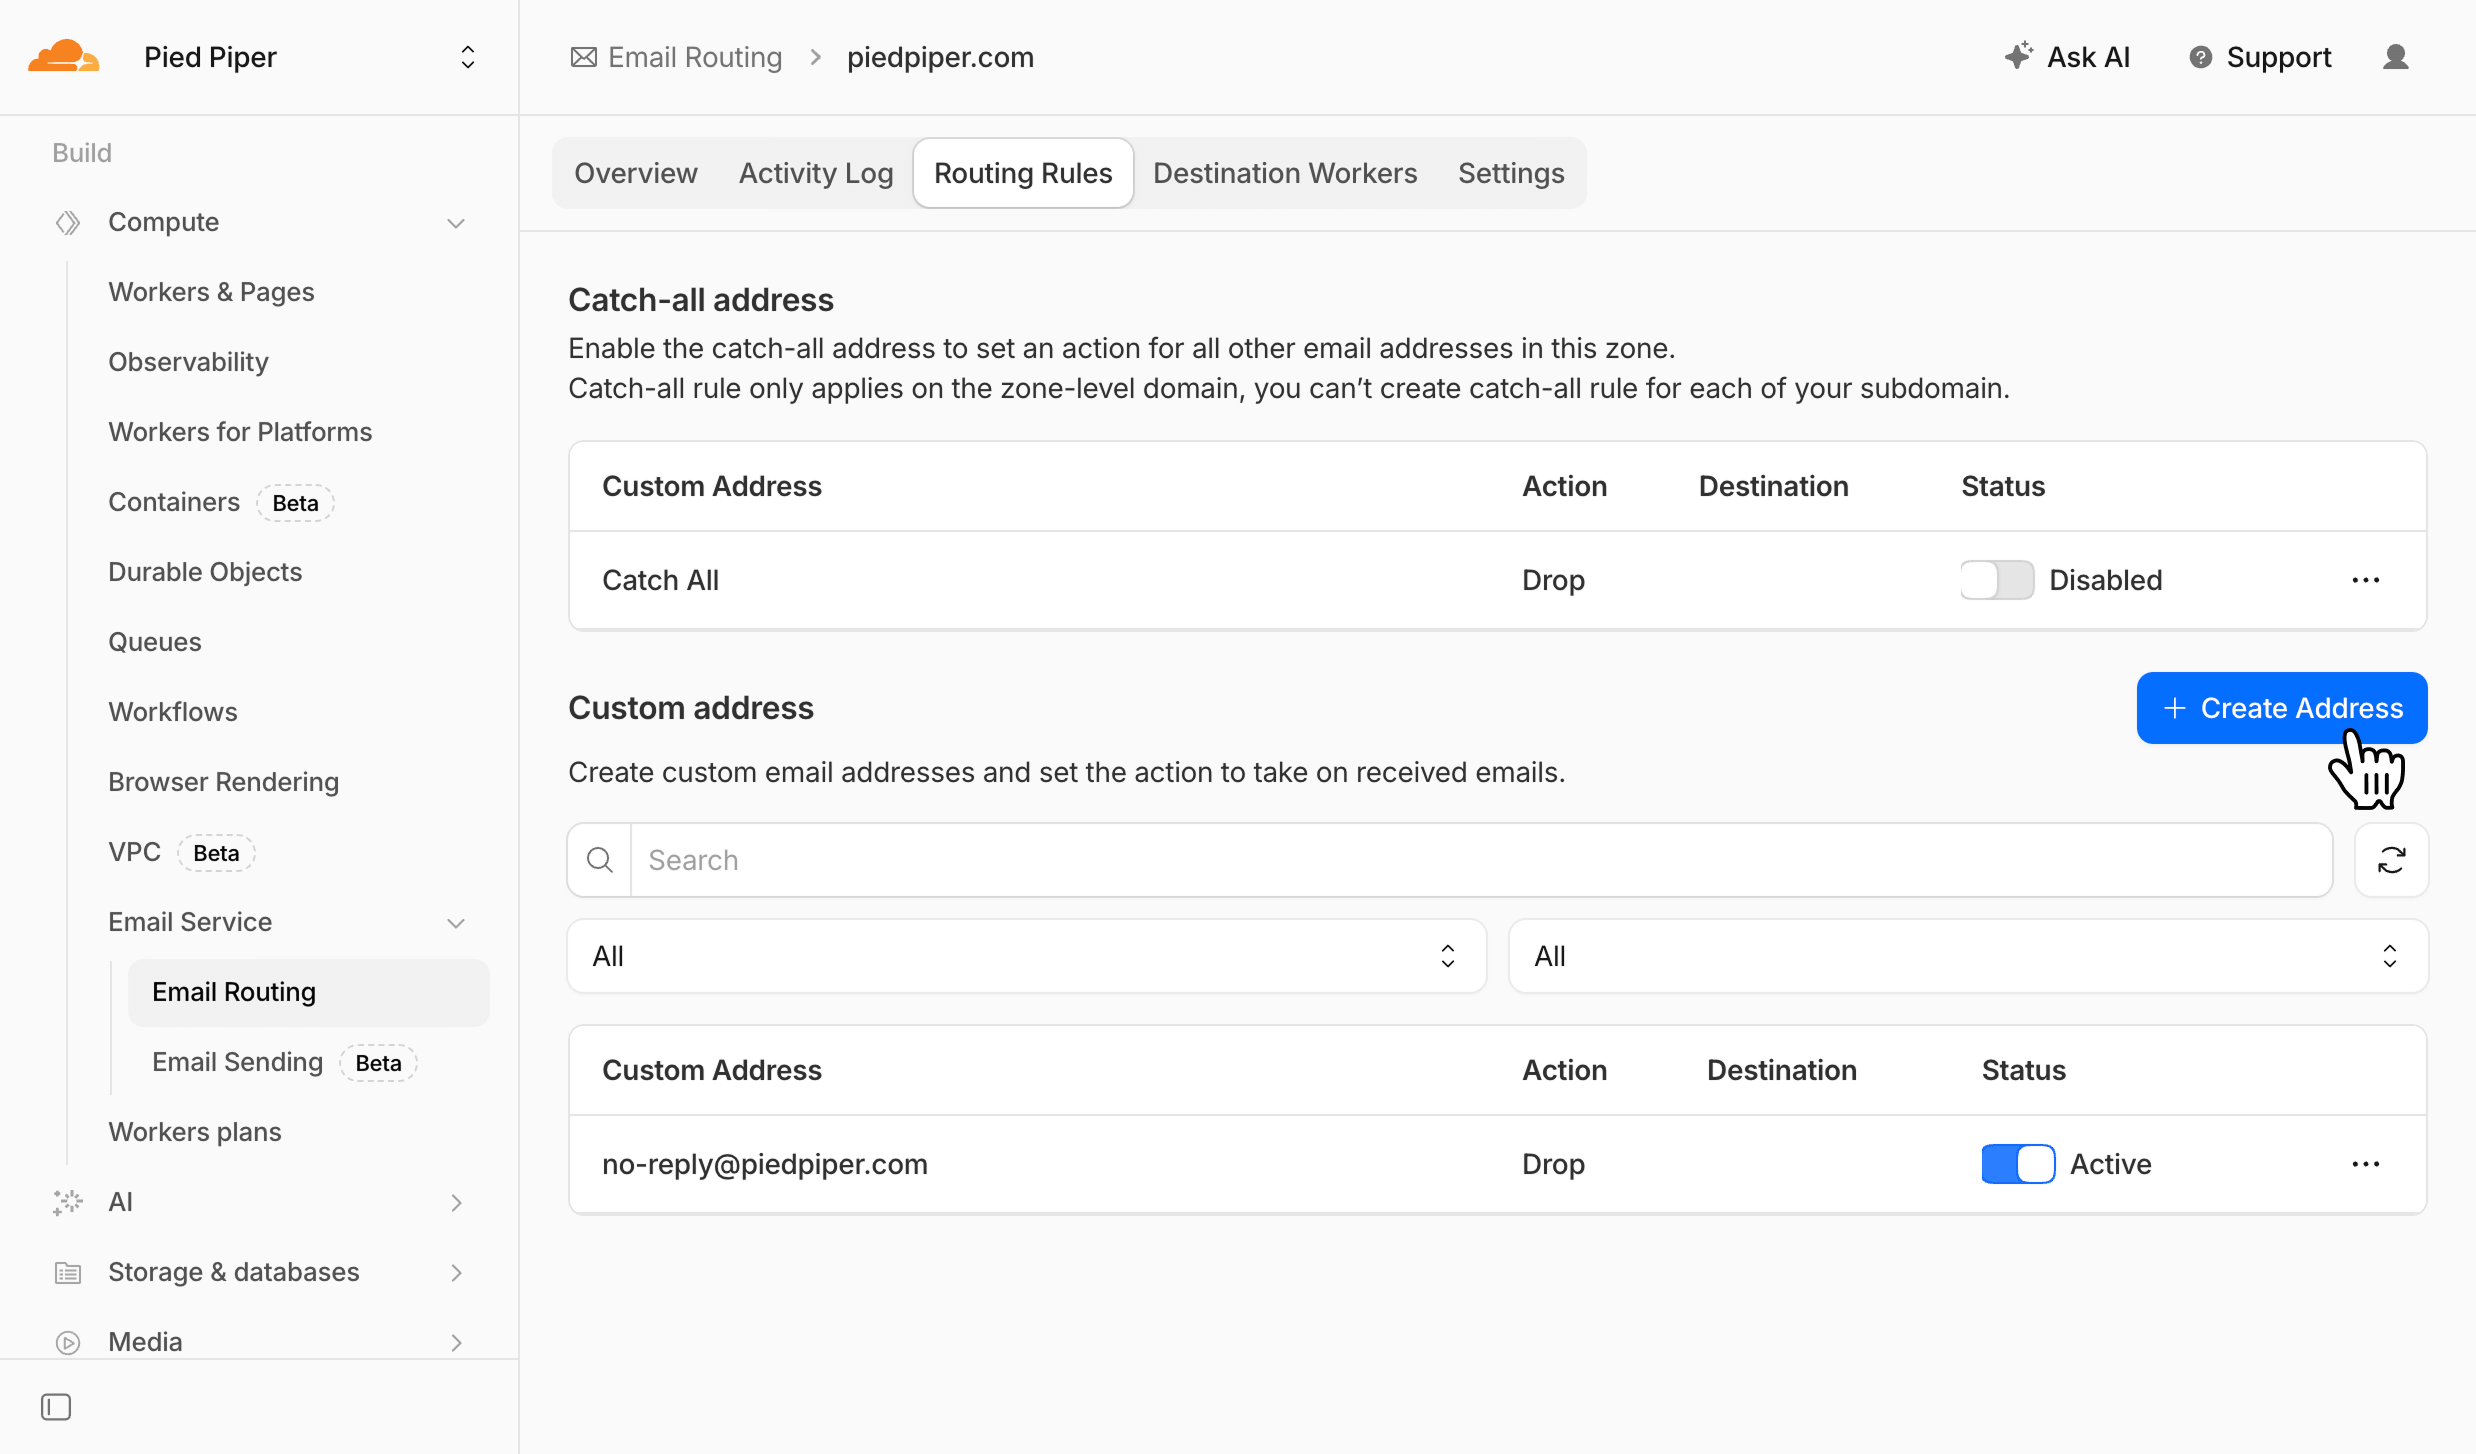
Then, head back to Cloudflare > Compute > Email Service > Email Routing and click on the Routing Rules tab in the page
On the Routing Rules tab, click on Create Address in the Custom address section
Add your
support@piedpiper.comsupport inbox, and select the Send to an Email option under Action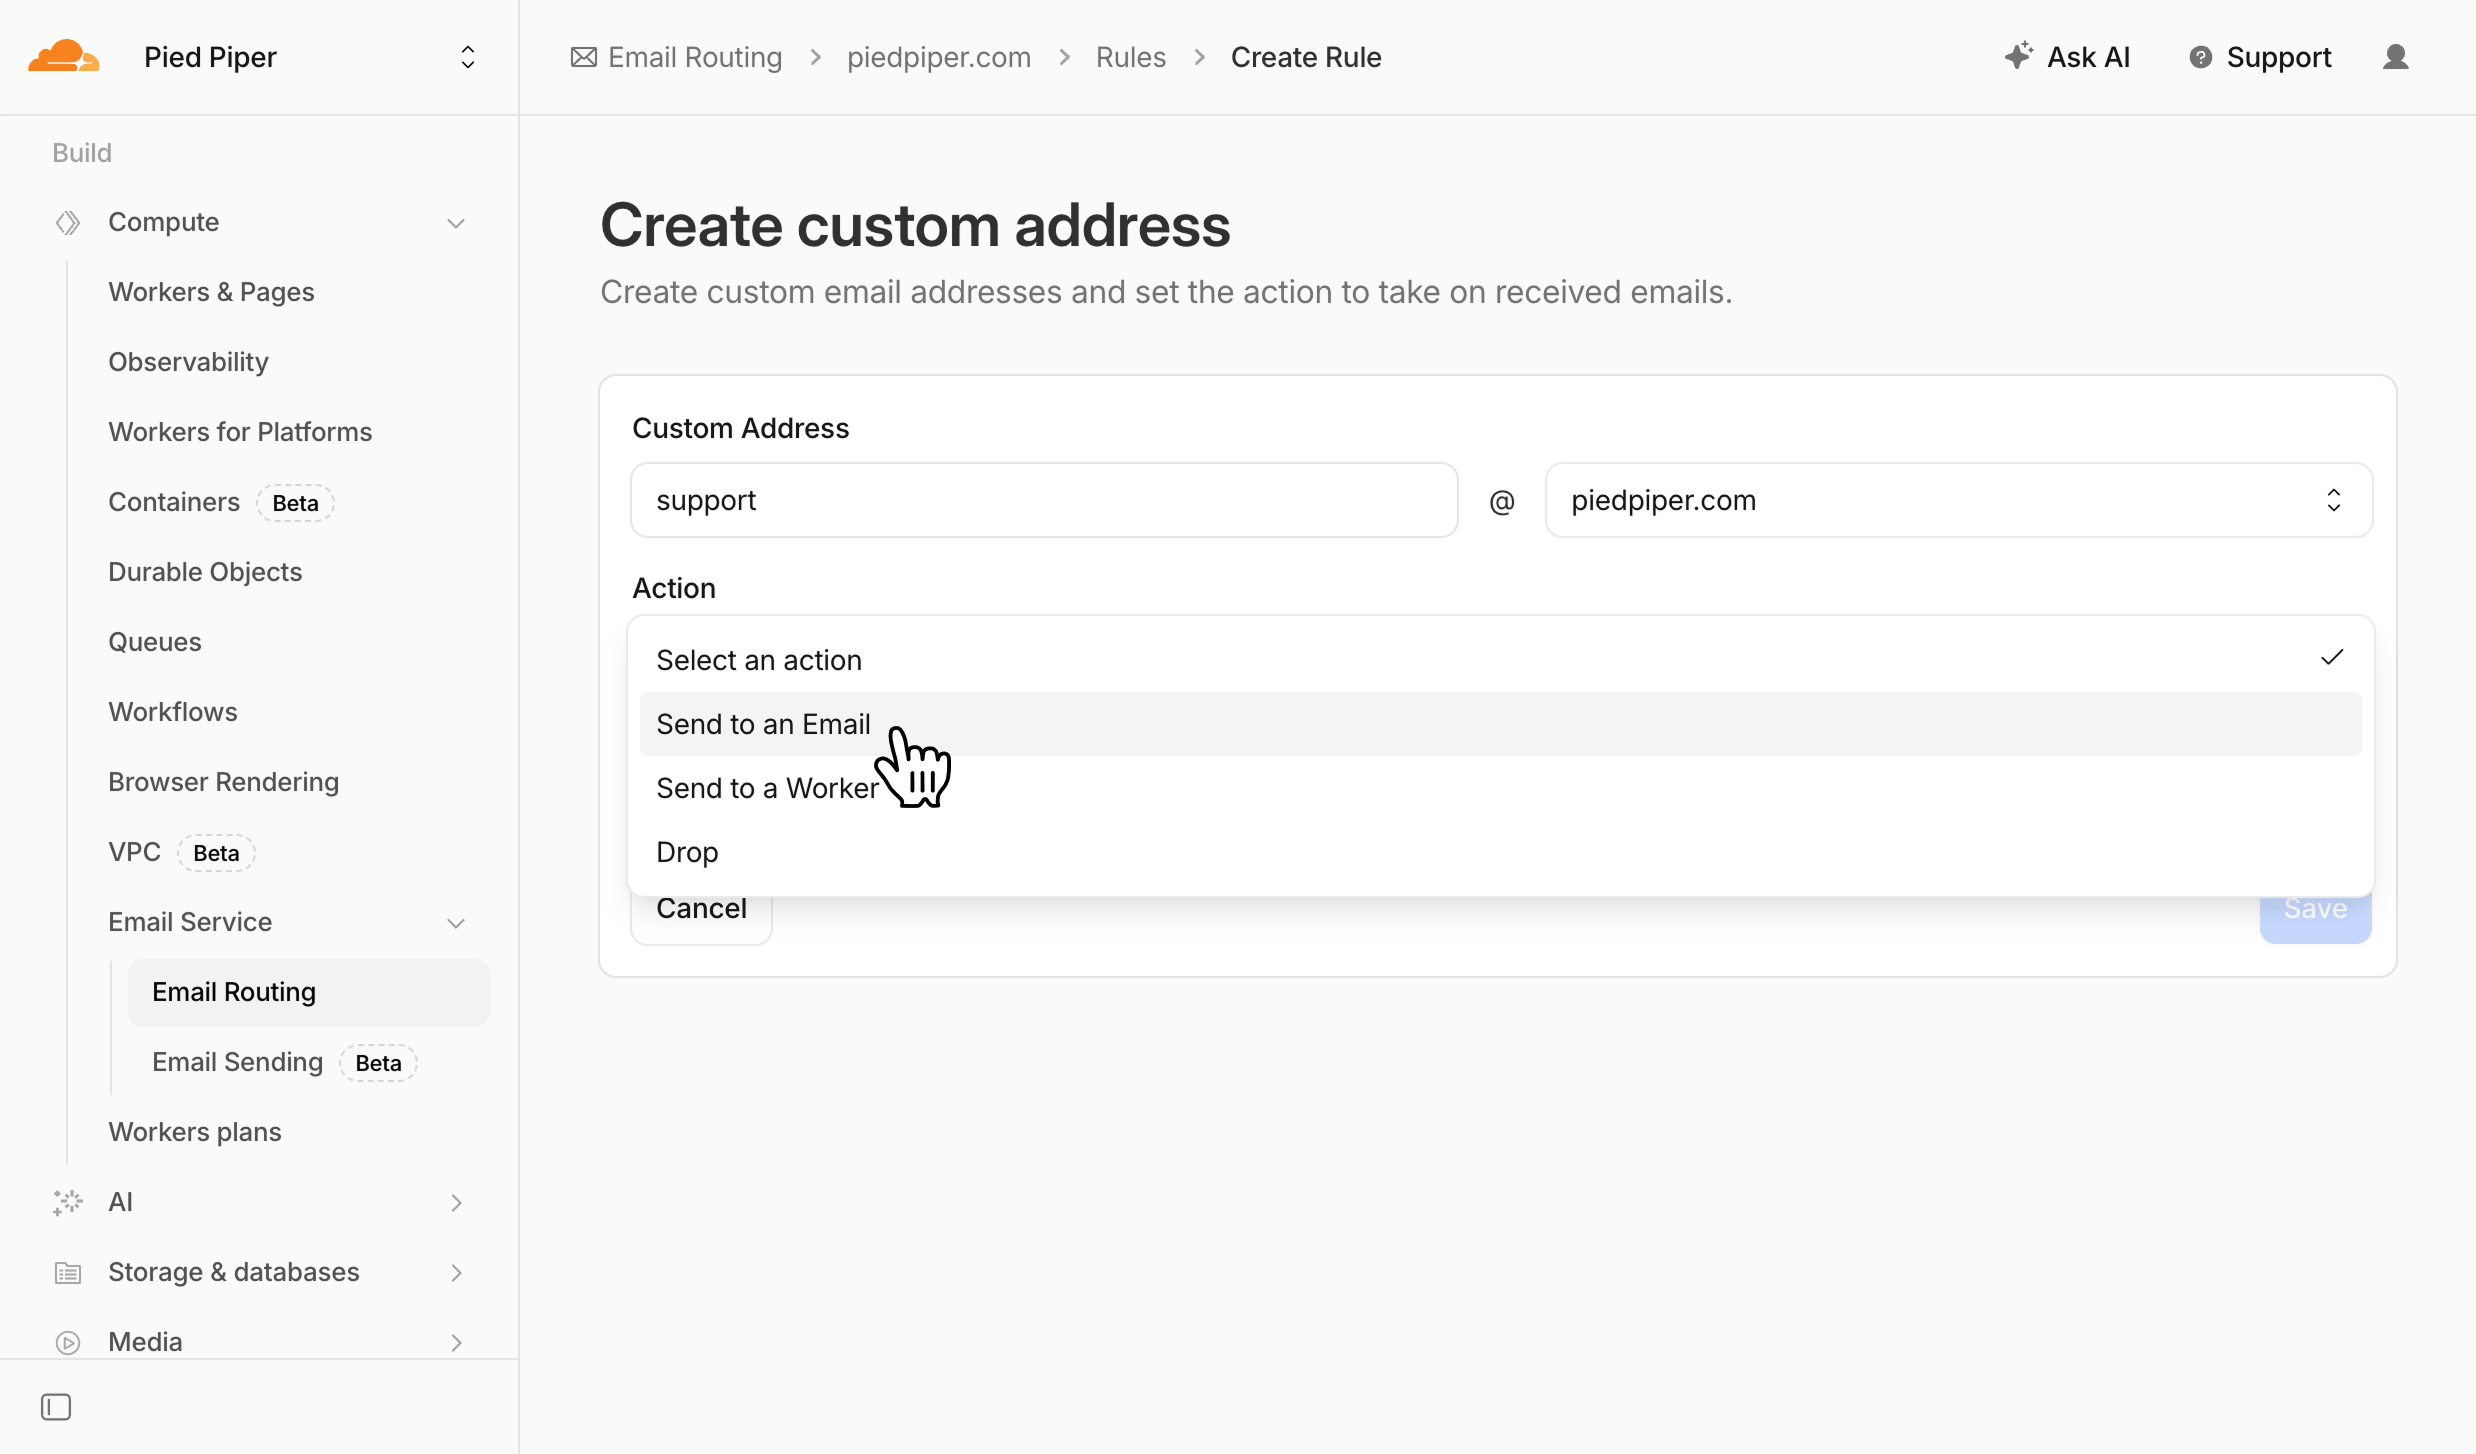
Then, select your Fernand inbox redirection address
support@piedpiper.fernand-mails.comin the Destination dropdown, and hit Save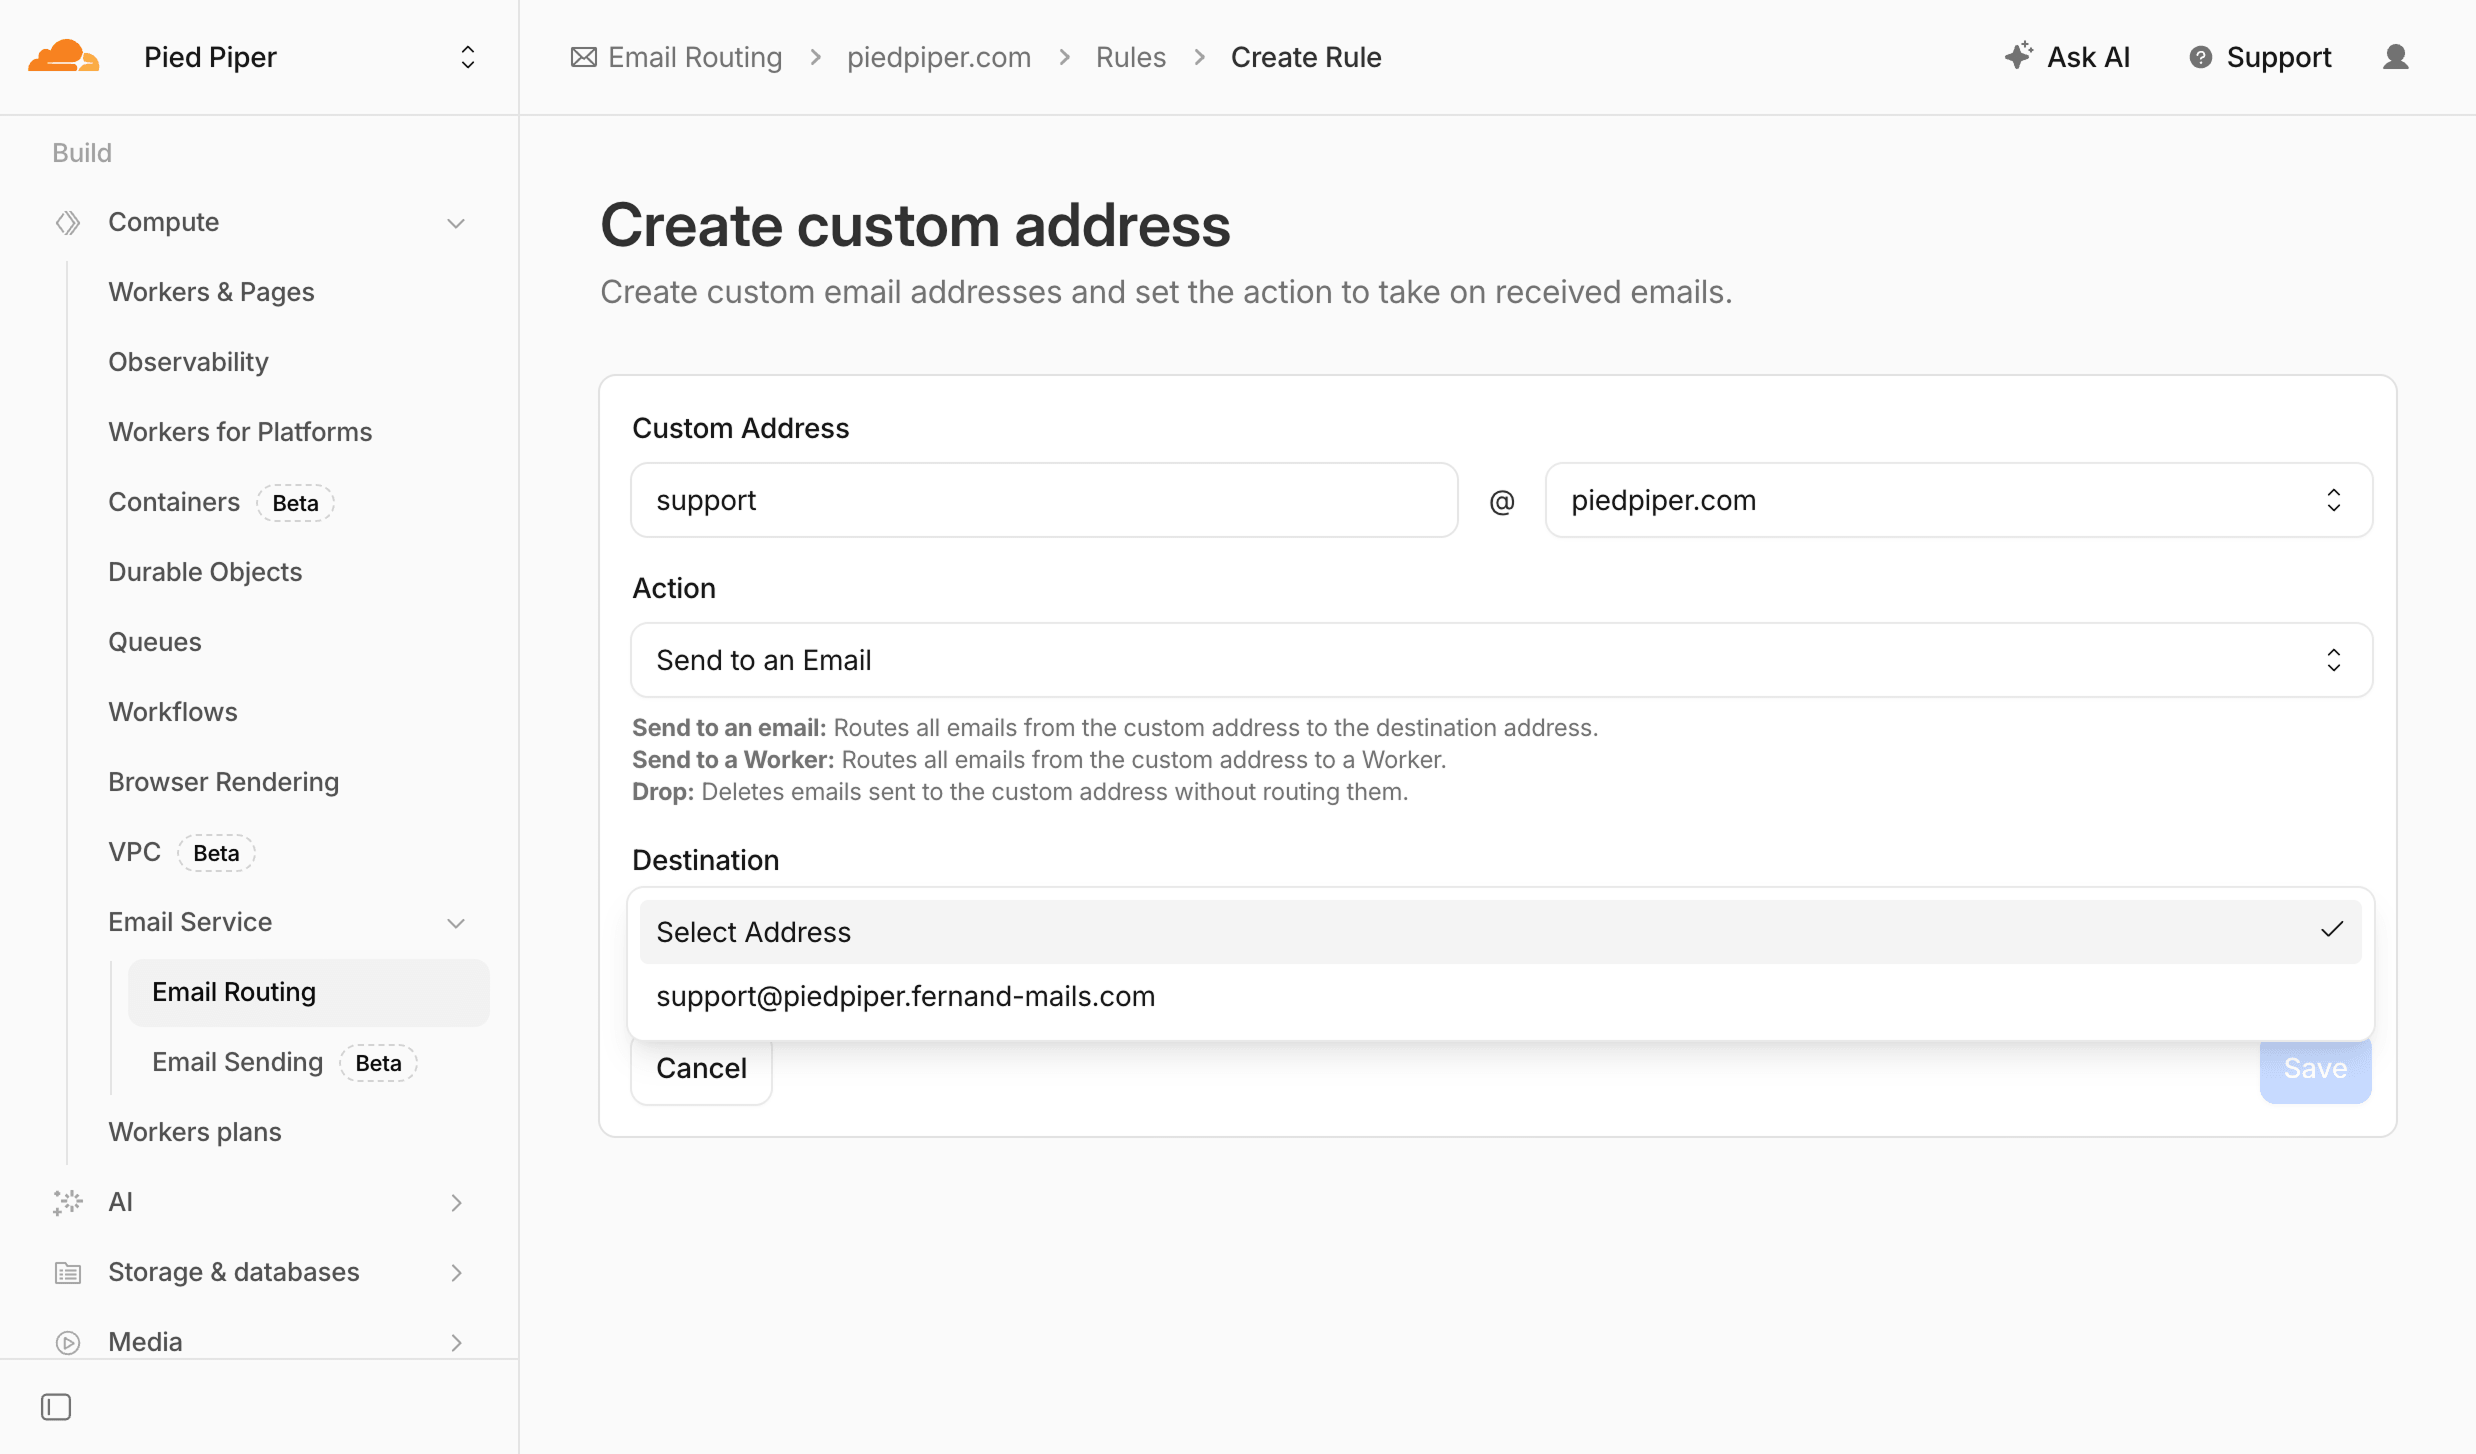
Send a test email to your support inbox at
support@piedpiper.comto make sure it lands on Fernand. You should be all set!
Need help?
If this all feels a bit much, no worries: we’ve got you. You can book a free call and we’ll walk through it with you, step by step.